|
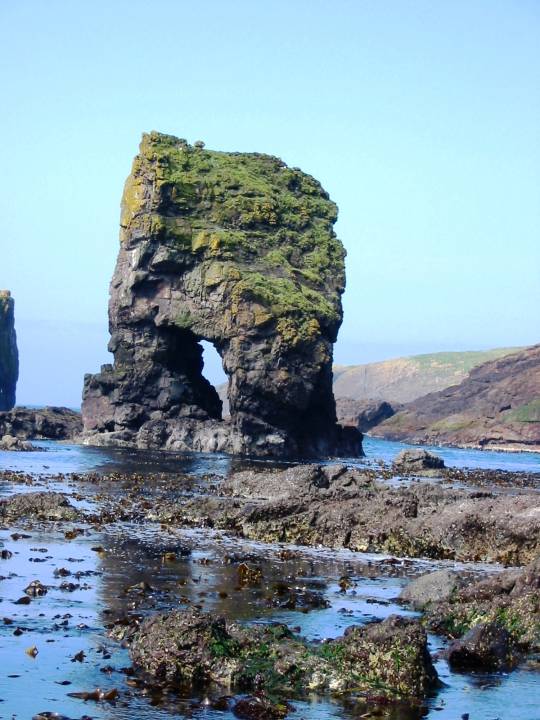
The stack containing this arch is adjacent to Aesha Stack Arch (1).
Photo by Ray Millar. |
|

|
Natural Arch and Bridge Society Home Page |
|
About Bob |
|
Return to Bob's Arches Home Page |
|
Return to Sea Arches. |